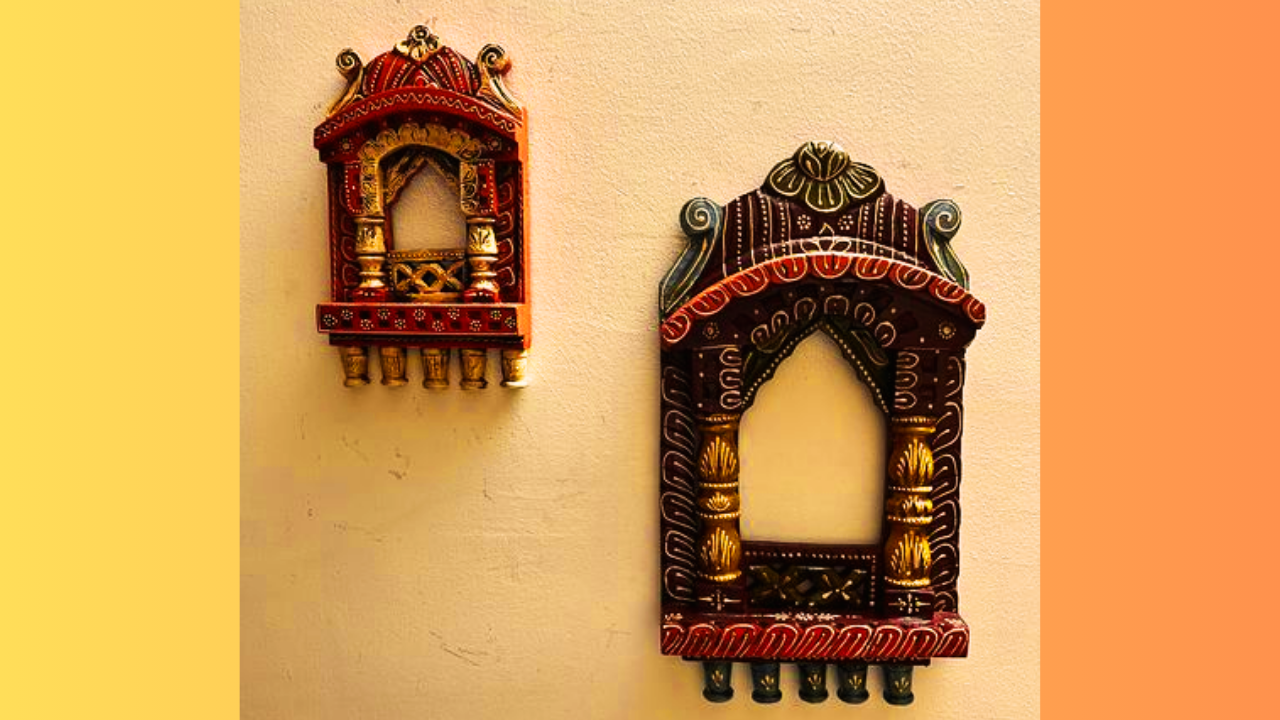
Indian Jharoka wall decor for your living room (Image credit: Canva)
Indian Jharoka Wall Decor It is a lovely way to bring a touch of traditional Indian beauty to your living room. A jharoka is a type of ornate balcony or window in Indian architecture, known for its beautiful carvings and artistic flair. Adding this element to your wall decor can create an eye-catching focal point that blends traditional and modern design. Here is a simple guide on how to create Indian jharoka wall decor for your living room.
1. Choose the right wall
The first step is to select the perfect wall for the jharoka decor. Ideally, choose a wall that serves as a focal point in the living room, such as the one behind the sofa or a blank wall that requires attention. Make sure that the wall is large enough to accommodate the jharoka structure and the accompanying items.
2. Design and size
Decide on the size and design of your jharoka. Traditional jharokas can be quite elaborate with detailed carvings, while modern interpretations can be simpler. You can opt for a full-size jharoka or a smaller framed version, depending on your space and preferences. Sketch out your design or look for inspiration online to get a clear idea of what you want.
3. Necessary materials
To create a Jharoka wall decorationgather the following materials:
– Wood or MDF (medium density fibreboard): For the base structure. MDF is easier to work with and can be painted or carved.
– Carving tools: If you plan on adding intricate carvings, for simpler designs, you can use stencils.
– Paint and finishes: Traditional jharokas often have bright colours and gold detailing. Choose colours that complement your living room decor.
– Decorative elements: Mirrors, glass panels or traditional Indian artwork can enhance the look.
– Mounting hardware: To securely fix the jharoka to the wall.
4. Build the base
Start by building the base of your jharoka. If you are using wood or MDF, cut it to the desired size and shape based on your design. You can create a simple rectangular or arched frame, or opt for more elaborate shapes.
1. Cut and shape: Use a saw to cut the base material to the desired dimensions. For intricate designs, consider using a jigsaw or laser cutter.
2. Sanding and Prep: Sand the edges to ensure a smooth finish. This step is critical if you plan to paint or carve the surface.
5. Add sizes and details
If you are looking for a traditional look, add carvings to your jharoka. You can do this by hand with carving tools or use pre-made stencil designs.
1. Carving: Lightly carve your design into the base material. If this is your first time carving, start with simpler patterns and practice on a small piece first.
2. Stencils: For a less complex approach, use stencils to paint designs onto the surface.
6. Painting and finishing
Once the carvings are ready, paint the jharoka with the colours of your choice. Traditional colours include deep reds, golds and dark greens.
1. Base coat: Apply a coat of primer to prepare the surface. Once dry, apply the base color.
2. Details and accents: Add decorative elements such as gold leaf or metallic paint to highlight details. Consider using a clear varnish for added shine and protection.
7. Add decorative elements
To enhance the appearance of the jharoka, add decorative elements:
1. Mirrors and Glass: Install small mirrors or glass panels inside the jharoka frame to reflect light and add elegance.
2. Artwork: Frame artwork or traditional Indian fabrics inside the jharoka for an enriching cultural touch.
3. Lighting: Install backlighting or small LED lights to highlight the carvings and create a warm glow.
8. Mounting the Jharoka
Carefully fix your jharoka to the wall using the appropriate hardware. Make sure it is securely fastened to avoid accidents.
1. Positioning: Measure and mark the wall where the jharoka will be mounted. Use a level to ensure it is straight.
2. Drilling and mounting: Drill holes for mounting hardware and attach the jharoka. Use anchors if necessary for added stability.
9. Final touches
Add the finishing touches to complete the look:
1. Decorative Accents: Place some small decorative items or traditional artifacts around the jharoka to enhance the overall aesthetics.
2. Furniture Arrangement: Arrange the furniture to complement the jharoka, ensuring that it serves as the focal point of the room.
Disclaimer:
The information contained in this post is for general information purposes only. We make no representations or warranties of any kind, express or implied, about the completeness, accuracy, reliability, suitability or availability with respect to the website or the information, products, services, or related graphics contained on the post for any purpose.
We respect the intellectual property rights of content creators. If you are the owner of any material featured on our website and have concerns about its use, please contact us. We are committed to addressing any copyright issues promptly and will remove any material within 2 days of receiving a request from the rightful owner.